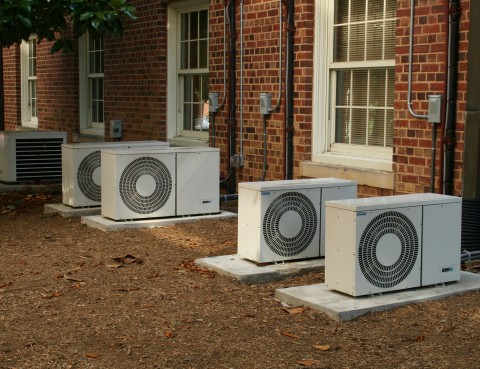
When was the last time you cleaned your outdoor AC unit? If you’re like most homeowners, you might answer “never.” Well, that’s okay, BUT, in order to maintain your unit and avoid a (costly) repair or replacement, you should clean your outdoor AC unit as a part of your routine house cleaning.
Steps To Clean Your Outdoor AC Unit
- Before cleaning, be sure to shut off the power to the unit. Look for an exterior shut-off box near the unit. Indoors, turn the power off at the breaker box.
- First, remove the fan cage. Using a screwdriver, remove the fasteners and lift the cage away from the top of the unit. Clean leaves and other debris from the interior either by hand or with a wet/dry vacuum.
- Next, spray through the fins with a garden hose from the inside out to blast any dirt or debris. Do NOT use a pressure washer, since that can cause damage to the fins. If the fins are especially dirty, use a commercially available fin cleaning spray (available at home improvement centers).
- Straighten the fins by using a butter knife. Be careful to not damage the tubing embedded within the fins. Replace the fan cage after straightening the fins.
- After replacing the fan cage, clean the area around the unit. Rake leaves and debris outside the condenser and cut back branches and vegetation at least 2 feet in all directions to ensure proper airflow.
- When the condenser is not in use (during winter months), you can cover the top of the unit with a piece of plywood to keep debris out. But, do NOT completely cover the unit’s sides, since moisture could collect and cause corrosion. Remove any cover when the unit is operating.
Easy enough, right? Cleaning your outdoor AC can save you money in the long term and cool your home more effectively in the short term. For all the latest on AC maintenance, as well as savings and promotions, subscribe to our newsletter!


